Drawing Essentials: Tools & Process to Elevate Your Art

How to Improve Your Craft With These Drawing Essentials
Improving Your Craft With These Drawing Essentials
Are you having a hard time determining the drawing essentials?Are you uncertain of the tools to use or wanting to upgrade your craftsmanship?For a full list of my drawing resources and where to purchase them, you can reference my resources page.
[button open_new_tab="true" color="accent-color" hover_text_color_override="#fff" size="large" url="https://perspective-collective.com/resources/" text="View My Resources" color_override=""]
I’ve been drawing for over 25 years and have accumulated a smidgen of knowledge during that span.My process and tools are what’s currently working for me but as I continue to learn more efficient processes and new tools that can help, I’ll be sure to toss them your way.My goal is to help the beginner or intermediate artist reach the next level. By sharing a thorough process and a list of tools I use along the way for most of my illustrative lettering pieces, this can put you on the fast track to elevating your art.All I ask is that you share this knowledge and resources with the next person who could benefit from learning the drawing essentials.Just remember, it is practice that builds your craftsmanship; not the tools. You have to invest the time.
Doodles & Sketches

field notes

Improving Your Craft With These Drawing Essentials

Staedtler HB Lead
I want to express the importance of mindless exploring.You won’t always have a concrete idea to pursue, that’s when you need to get creative and let the pencil or pen flow. What’s great about this stage is that you can’t be wrong!You can do this from anywhere on anything!I always keep a pocket sized sketchbook by my side; preferably a Field Notes book.Mindless doodling and sketching allows you to explore concepts and techniques which surprisingly turn into some of your best works.If I had a preference, I will generally sketch with my lead holder. Otherwise, I like a ordinary mechanical pencil that has HB lead as it’s firm yet light and easier to build upon.Heck, I would sketch with anything available; a #2 pencil you have at school, a crayon (Crayola is making a huge comeback), some broken chalk, a crappy pen.It doesn’t matter as long as you’re being creative.
Quick tip:
#2 and HB is the same thing! It’s in the middle of hardness and softness of lead and usually what schools approve as the standard pencil.
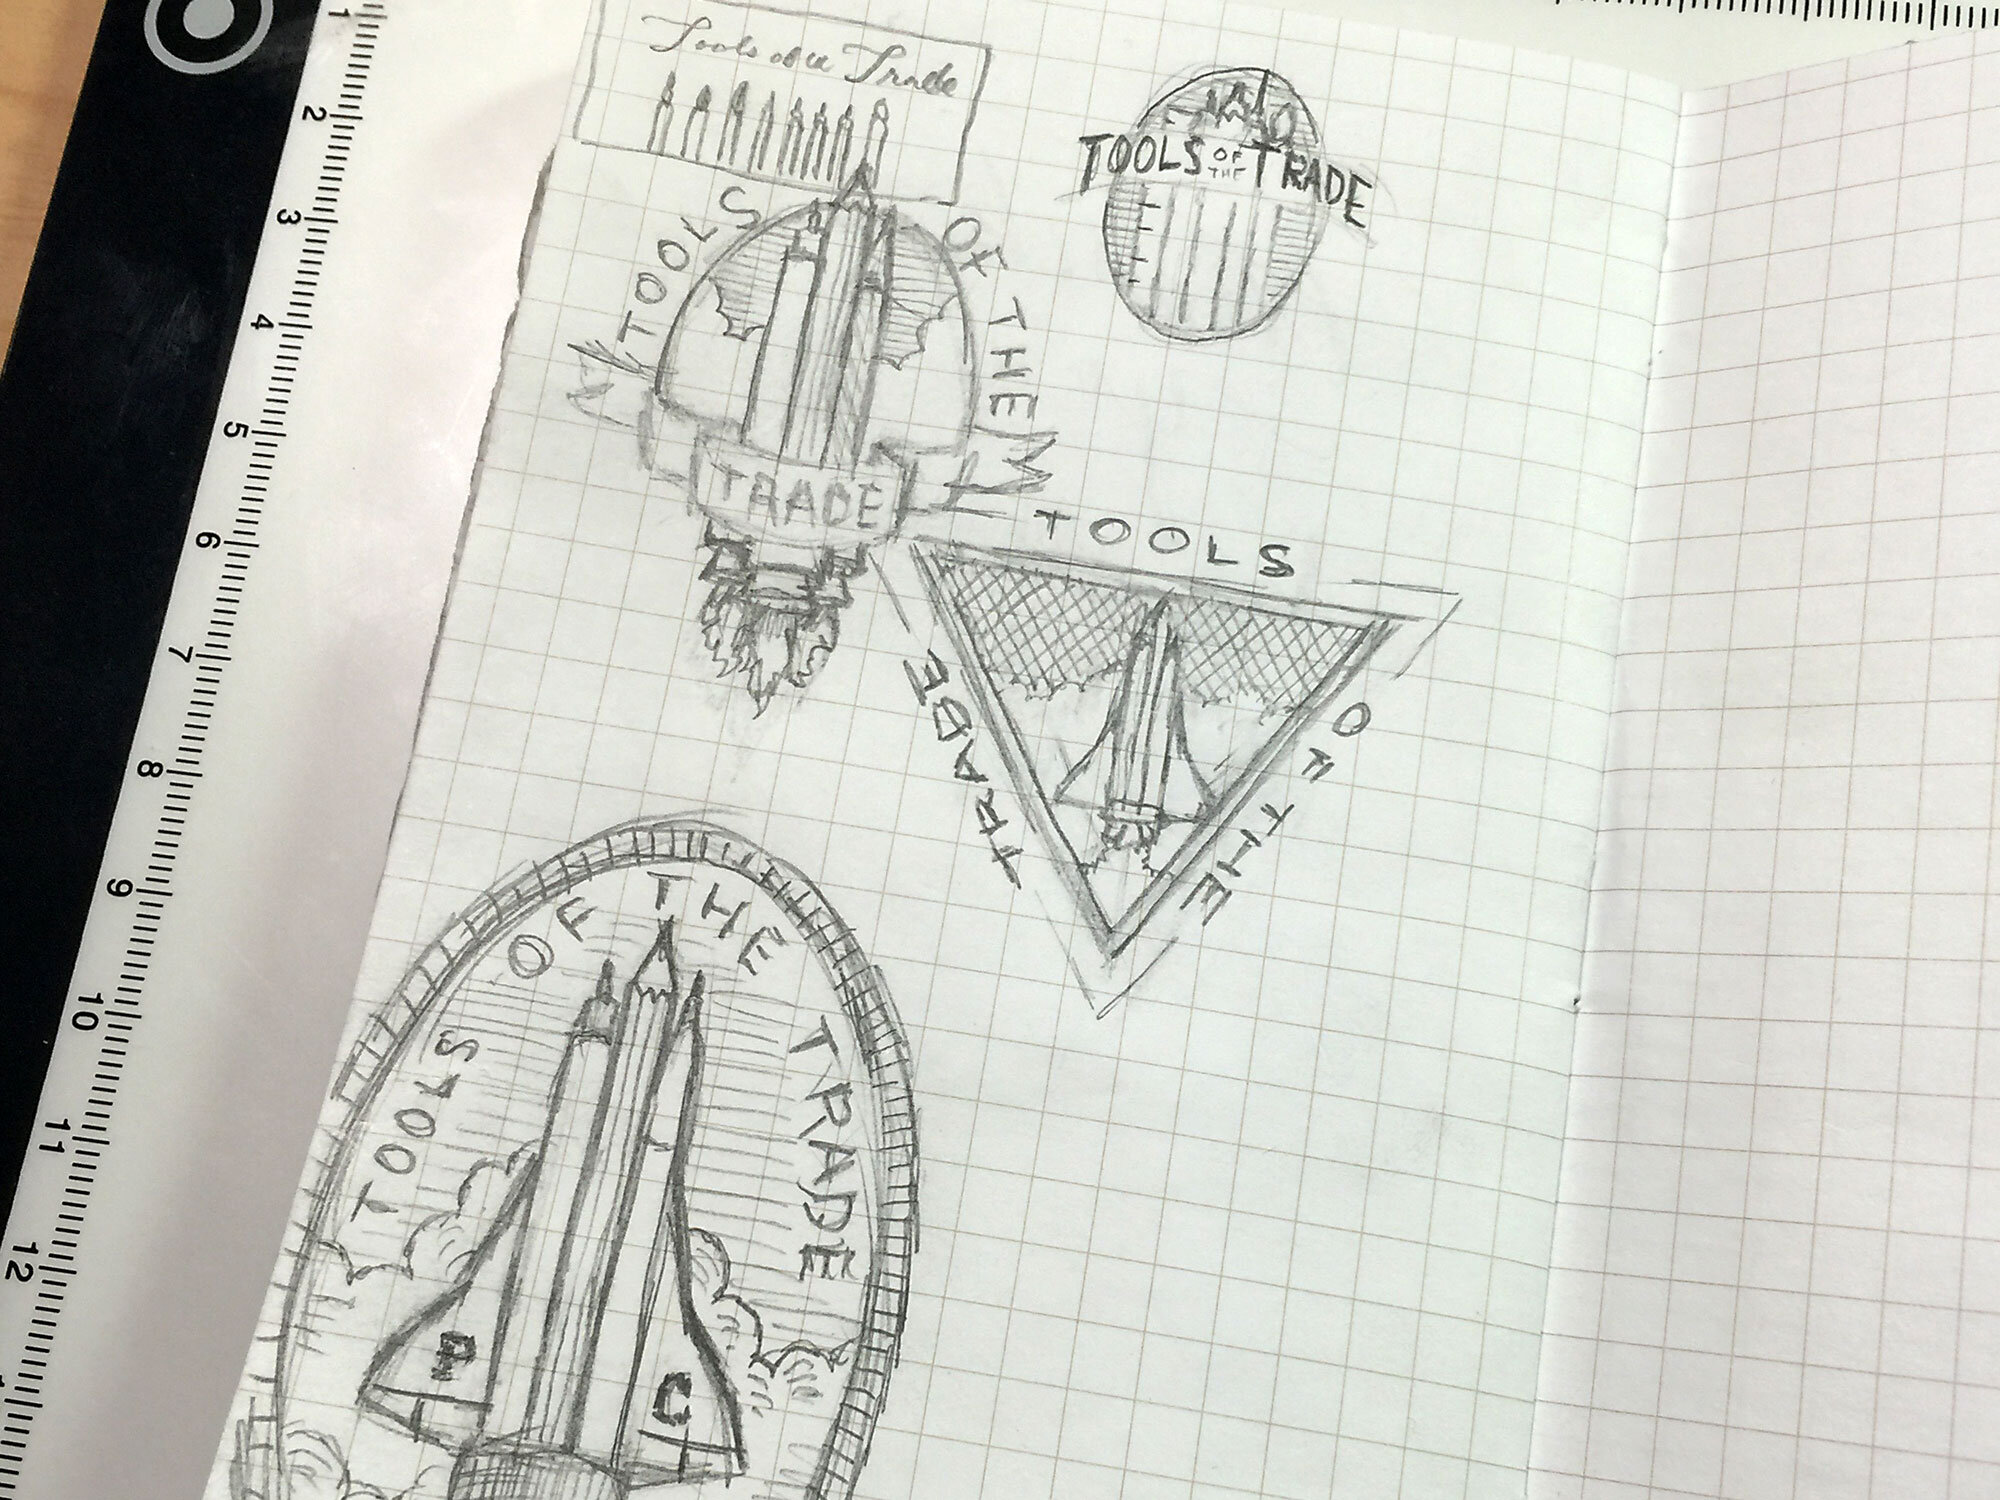
Thumbnail Concepts
Improving Your Craft With These Drawing Essentials
Improving Your Craft With These Drawing Essentials
After exploring, you may have come across a concept that may be worth pursuing.If you already have a concept in mind, you can skip the doodle / sketching phase and get right to thumbnailing.Thumbnailing is creating small thumbnail size sketches with more intention and purpose than a doodle. At this tiny size, you are able to explore the concept thoroughly and knock out as many renditions as possible.This stage is the most often skipped in the creation process. Many artists jump right into a final piece or worse in my opinion, work solely on the computer. This can lead to hours wasted if you didn’t lock down the right idea which can negatively effect client work, personal projects, school projects, etc.Similar to sketching and doodling, I will build concepts with my HB pencil within a Field Notes sketchbook with a grid. Working at this small scale allows for quick and efficient variations. The grid helps me keep them proportionally scaled for when I enlarge a concept.I will mix in the use of my tiny, Tombow Mono Eraser and Eraser Shield here as well to finesse some of the thumbnails that have potential.
Quick tip

Improving Your Craft With These Drawing Essentials
Get this Tombow eraser, it is amazing for precision.
Guidelines & Measure
You’ve locked down your idea and ready to roll with it.The beauty of working with the grid on your Field Notes is that you are better equipped to laying down proportioned dimensions and guidelines for an enlarged version.For this stage, I’ll pick my paper depending on what my final intentions are:
If it’s just a quick piece, regular printer paper will suffice — especially during the refinement process if I want to trace and rebuild.
If I want a more polished piece for archiving, I will turn to some Bristol.
I’ve been experimenting with grey and tan toned paper lately from Strathmore as well.
I then break out the rulers:

Improving Your Craft With These Drawing Essentials
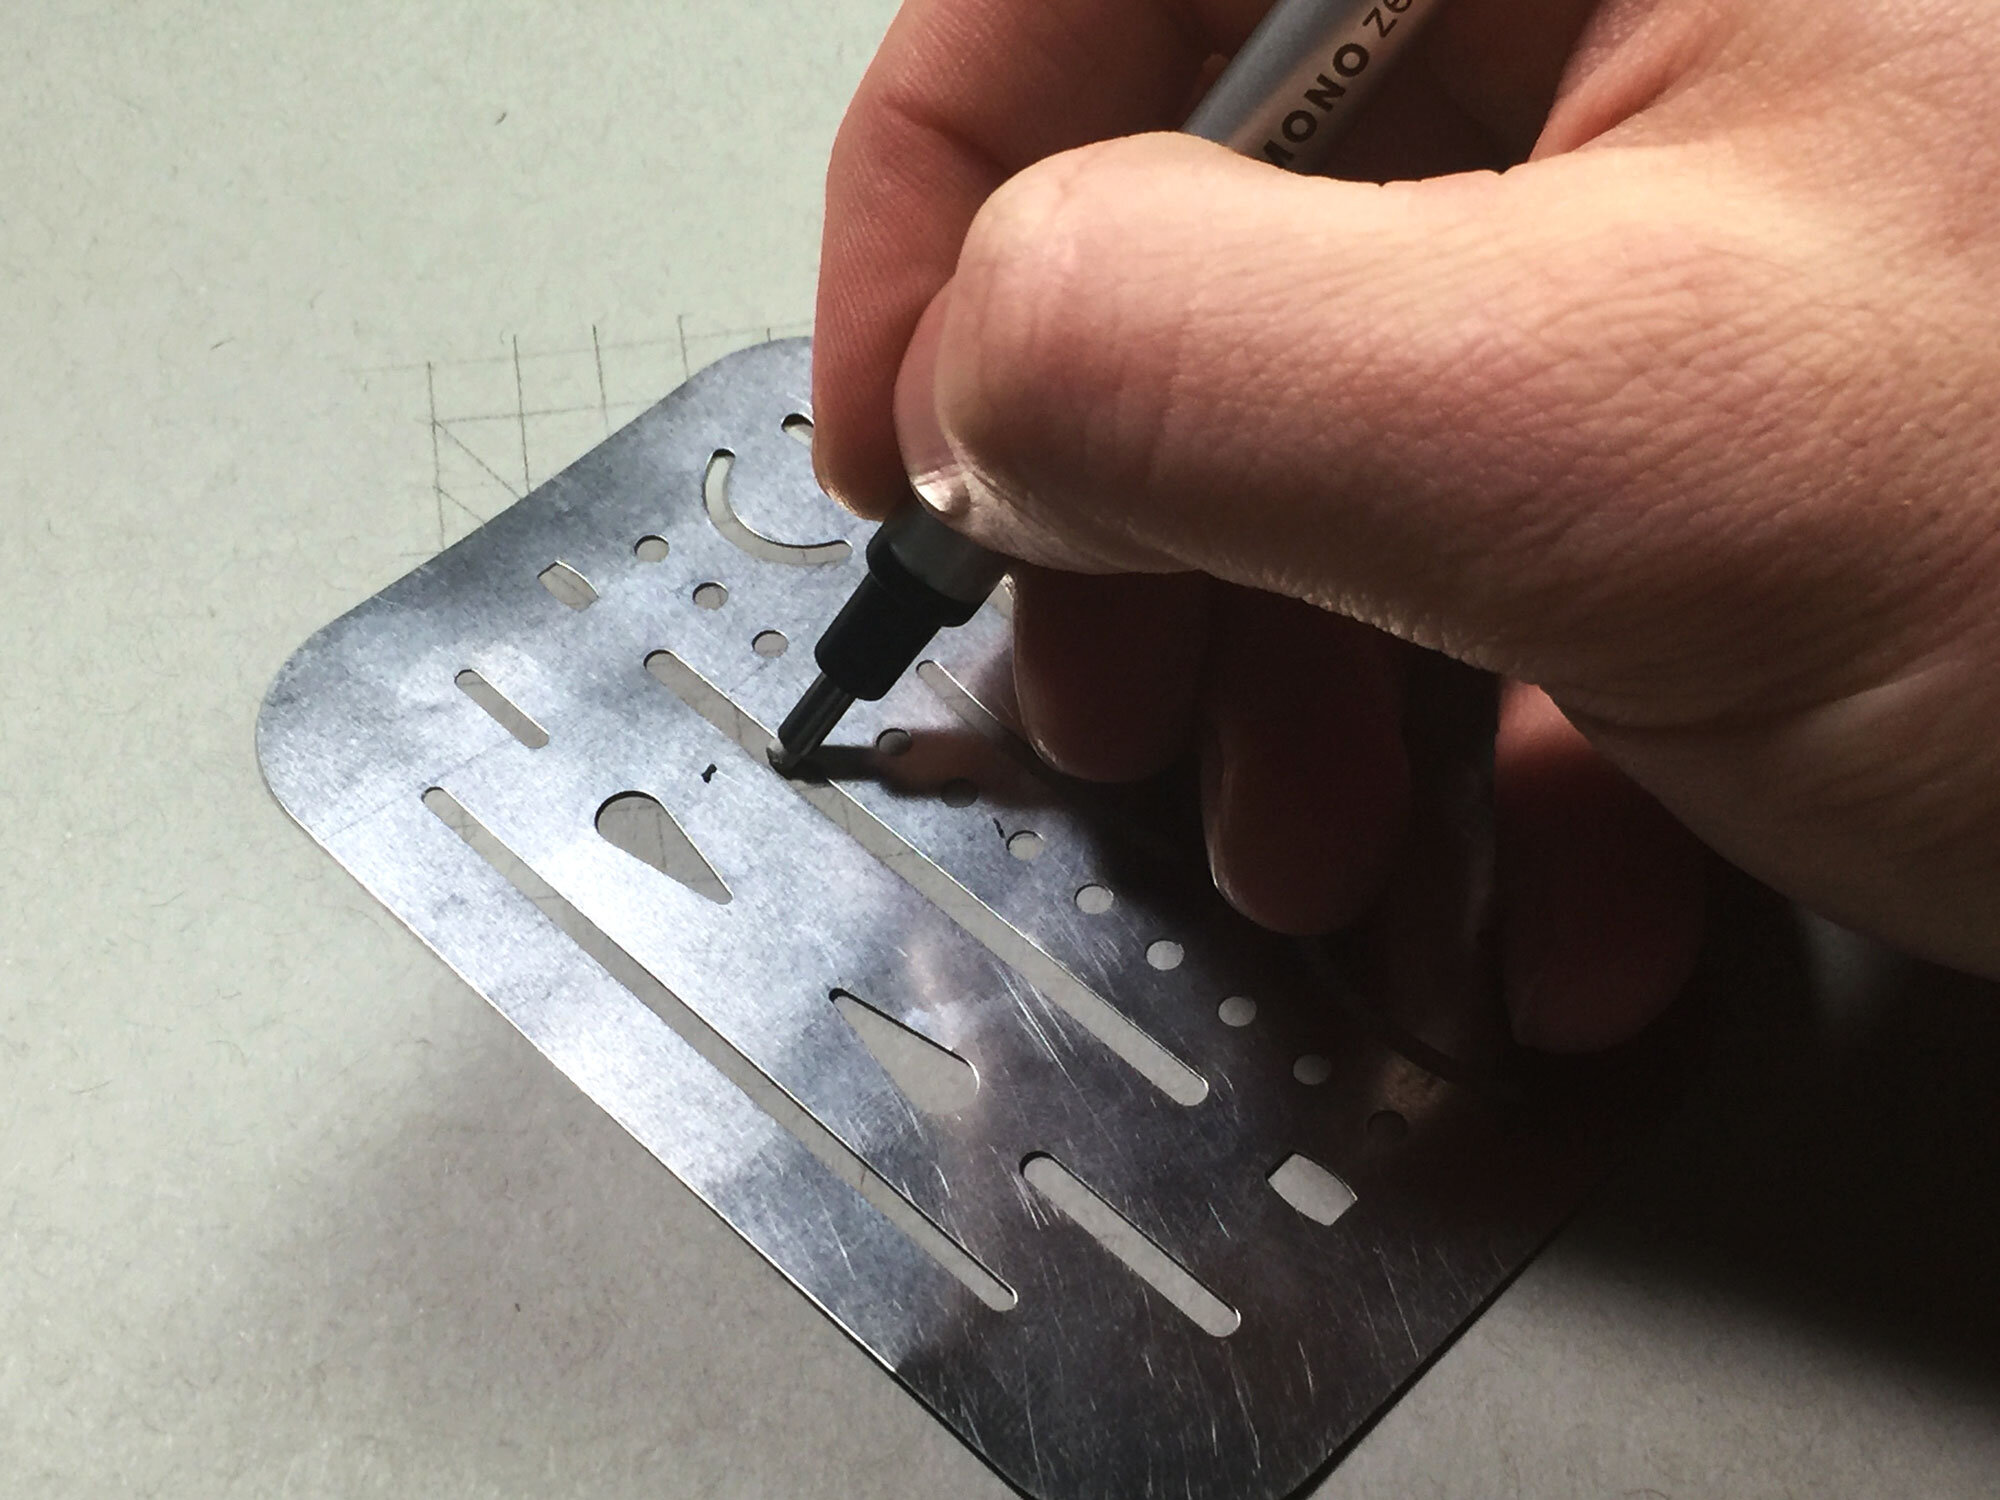
I build a grid typically going every inch and will sometimes build in half inch or quarter inch markings if it is something that will require a lot of detail and precision.For lettering that will require a slant, I will break out my triangle ruler and space out slanted guides accordingly laying it across the base of my T-square ruler.All my guides are lightly laid down with HB pencil so it’s easy to erase later on.
Refinement

Improving Your Craft With These Drawing Essentials

The Drawing Essentials to Help You Elevate Your Art

Improving Your Craft With These Drawing Essentials
This may be the most tedious stage, yet the most rewarding as you will see the most growth in yourself by servicing as your own art director. It’s important to examine and criticize your work in a healthy manner.As you begin to evolve your piece, you may notice subtle changes you want to alter. This is where you have the ability to trace over your work and make altercations while not destroying the final product.You can trace using tracing paper or better yet, use a light pad which is seen in the photo below. This allows me to skip the tracing paper at times and move right into laying down the base for a final piece.For whatever reason you’re not happy and need more refining, just repeat the process and retrace until you’re ready to ink.
Inking / Detail Stages
Easily my favorite stage as you get to bring your piece to life.I prefer to work in stages as I work with mixed media; combining ink and graphite for more depth. Not all of these stages will apply to you.
Stage 1
Improving Your Craft With These Drawing Essentials
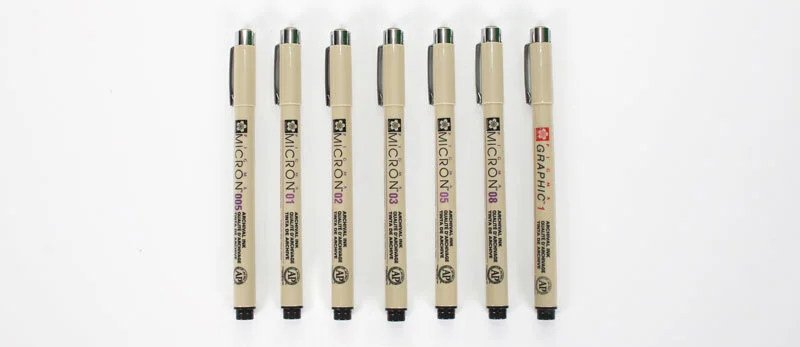
Once you’ve laid down your HB foundation, you can grab your trusty fine liner pens to begin the outlines. I prefer to work with an 01 Micron to lay my initial wave of inking.
Stage 2
Improving Your Craft With These Drawing Essentials
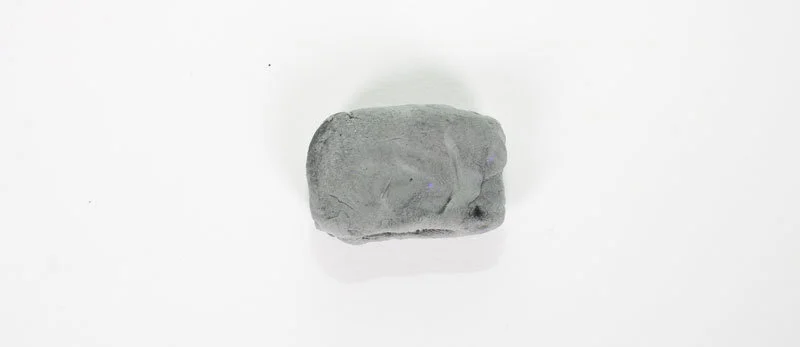
Once I have my first coat of inking, I will use my kneaded eraser to erase all my guidelines and base sketching. The kneaded eraser preserves the richness of the ink and is much more gentle on the paper.
Stage 3
Once erased, I go in with my HB pencil and begin to lay down a foundation of shading. I love adding graphite as it adds another dimension of depth and detail within in a piece. I’ll also blend the graphite using a paper stump. Check out the proper technique of using this tool.
Quick tip:

Improving Your Craft With These Drawing Essentials
I use a typical nail filer to clean off the graphite from my stump.
Stage 4
After the first ink outline and layer of graphite, it’s time to beef up strokes and use a second wave of inking to build contrast.This time around, I will generally use an 05 Micron to outline areas that need a larger stroke to stand out.
Quick tip:
I will thicken all essential elements in the foreground and leave smaller strokes on insignificant elements in the distance to create perceptual depth.
Stage 5

Improving Your Craft With These Drawing Essentials

Improving Your Craft With These Drawing Essentials
I proceed into phase two of the graphite stage building in more contrast with heavier shading and may resort to my 2B 2mm lead holder at this point (you can use a 2B pencil of any brand as well). Again, I blend using my paper stump.If you’re interested in more shading, detailing techniques and pencil lead info, sign up for my weekly newsletter and respond to my welcome email which asks what you’d like to learn about
Stage 6

Improving Your Craft With These Drawing Essentials
The final phase calls for the minuscule details that no one will notice!I will bring out the smallest nib possible for these which is my Micron 005 or my Copic .03 and .05. I’ll touch up with any graphite after.
Quick Tip:
I will use a piece of paper to cover up most of my drawing when working with graphite. This will help you avoid smudging the graphite and keeping your hands clean.Down the road I can talk about vectoring your pieces if you are interested, again you can let me know if you’re interested by telling me in my newsletter.
Archiving, Framing or Filing
It’s crucial that you document and file all of your work. That way you can track your growth and it’ll be something worthily to show your kids or grandkids down the road to inspire them to create. :)
Scanning
If it’s just an inked drawing, you can scan it into your computer as you always need to have your work on file backed up.I prefer to scan it in as a 600 dpi .jpeg if possible so I can double its size for future printing purposes.
Quick tip
These scan settings will also improve your image tracing results within Illustrator if you’re not savvy with the pen tool.
Taking Photos

Improving Your Craft With These Drawing Essentials
If I have mixed media with ink and graphite, I will shoot a photo of it with my iPhone 6+. I suggest saving up for a nice camera as that will seriously elevate your game.I will sometimes use a Phone tripod for photos or even time lapses.If you don’t have a proper lighting setup, just position your piece in front of a window where a lot of natural light is beaming through.
Framing or Storage

Improving Your Craft With These Drawing Essentials
If you used an archival paper like Bristol, you can frame your work as this paper is great for presentation. This is great for custom, one off gifts that are sure to make someone feel special.Otherwise you can store it if you used normal printer paper. I collect all my pieces throughout the years and place them in an accordion style folder. You can also keep them in your sketch book and organize them somewhere safe once you’ve filled them up.Saving your old work is important to track you growth. I’ve saved practically everything dating back to 1st grade and it’s amazing to time travel back and live in those distant memories.
Start Creating
These are your drawing essentials.The process and tools I’ve shared are great for the beginner and intermediate artists who are looking to elevate their art.This will not only help you with your personal projects but with potential client work as well!Just remember, the tools don’t make you a better artist; they supplement your skills once you’ve invested the necessary time into perfecting your craft.You have to show up every day and you would be amazed where deliberate practice for a year could take you!If you want to follow along with me and watch my process, find me on Snapchat and Instagram. I love interacting and helping you guys through these channels.
Key Takeaways
it is the practice that builds your craftsmanship; not the tools
you can’t be wrong when doodling or sketching
#2 and HB is the same thing when referencing pencil lead
thumbnailing is a more intentional practice of sketching which allows you to explore concepts quickly
skipping the thumbnail phase can lead to hours wasted
it’s important to examine and criticize your work in a healthy manner
use thick strokes for foreground and thin strokes for background
you must archive, file and store your work
for inked drawings, scan in at a 600 dpi .jpeg